
OpenPubkey SSH (OPKSSH) With Kanidm as Identity Provider
Cloudflare has recently open-sourced the OPKSSH (OpenPubkey SSH) implementation, which they got as part of their acquisition of BastionZero last year.
Since I am big fan of Sigstore, and this is very much in the vein of it, I wanted to take it for a spin!
What is OPKSSH?
OpenPubkey SSH (OPKSSH) removes one more instance where we have to do manual key management: SSH keys.
It uses single sign-on (SSO) technologies like
OpenID Connect (OIDC) to authenticate a user and
bind their identity to an ephemeral SSH key (or rather cert). This means no more ssh-keygen,
no more distributing public keys, and no more rotating leaked and expired keys manually.
Authentication is handled via your existing identity provider (IdP).
OPKSSH supports common providers like Google and GitHub out of the box, and the installation is too easy to warrant a blog post, I wanted to integrate it with my self-hosted Kanidm instance.
Configuring the OAuth2 Client
First, we need to configure an OAuth2 client for OPKSSH in Kanidm. This involves creating a group for authorized SSH users and setting up an OAuth2 application.
Log in to Kanidm CLI as an administrator, e.g., the default idm_admin user.:
export KANIDM_URL=https://sso.kammel.dev
export KANIDM_NAME=idm_admin
kanidm login
Create a group and their members to control who can use OPKSSH.
export GROUP_NAME=opkssh_users
kanidm group create ${GROUP_NAME}
kanidm group add-members ${GROUP_NAME} datosh
Next, create the OAuth2 public client application in Kanidm. OPKSSH uses localhost redirects during the login flow, so we have to explicitly enable support. The acutal redirect URLs are specified in the OPKSSH docs.
export OAUTH2_NAME=opkssh
kanidm system oauth2 create-public ${OAUTH2_NAME} ${OAUTH2_NAME} http://localhost:3000

# Add the specific redirect URIs used by OPKSSH
kanidm system oauth2 add-redirect-url ${OAUTH2_NAME} http://localhost:3000/login-callback
kanidm system oauth2 add-redirect-url ${OAUTH2_NAME} http://localhost:10001/login-callback
kanidm system oauth2 add-redirect-url ${OAUTH2_NAME} http://localhost:11110/login-callback

# Map the group created earlier to the required OIDC scopes
kanidm system oauth2 update-scope-map ${OAUTH2_NAME} ${GROUP_NAME} email openid profile groups

# Explicitly allow localhost redirects for this client
kanidm system oauth2 enable-localhost-redirects ${OAUTH2_NAME}
You can verify the configuration:
kanidm system oauth2 get ${OAUTH2_NAME}
This should show details similar to this (output truncated):
---
class: oauth2_resource_server_public
displayname: opkssh
name: opkssh
oauth2_allow_localhost_redirect: true
oauth2_rs_origin: http://localhost:10001/login-callback
oauth2_rs_origin: http://localhost:3000/login-callback
oauth2_rs_origin: http://localhost:11110/login-callback
oauth2_rs_origin_landing: http://localhost:3000/
oauth2_rs_scope_map: [email protected]: {"email", "groups", "openid", "profile"}
oauth2_strict_redirect_uri: true
spn: [email protected]
uuid: e541dc59-b5fe-41d1-a1a0-535e3cd79bf4 # This will be different for you
# ... other fields ...
The important parts are the oauth2_allow_localhost_redirect: true and the
oauth2_rs_scope_map linking your group to the necessary scopes.
Configure the SSH Server
On the server, install the opkssh binary and configure ssh to use it, via the official install
script:
wget -qO- "https://raw.githubusercontent.com/openpubkey/opkssh/main/scripts/install-linux.sh" | sudo bash
Next, we need to extend the supported providers by adding an additional line to
/etc/opk/providers:
https://sso.kammel.dev/oauth2/openid/opkssh opkssh 24h
Finally, we can authorize users based on their OIDC identity.
This command tells the server that the Linux user ubuntu can log in,
if they authenticate via our Kanidm provider
(https://sso.kammel.dev/oauth2/openid/opkssh)
and have the email claim [email protected].
#               linux_user   oidc_email_claim    issuer_url
sudo opkssh add ubuntu       [email protected]   https://sso.kammel.dev/oauth2/openid/opkssh
ubutu as the Linux user, because thats the default user on my
cloud-init based image, your user may be different.
Configure the Client
Install the opkssh client tool on your local machine:
# Download the latest release for your architecture
curl -LO https://github.com/openpubkey/opkssh/releases/download/v0.4.0/opkssh-linux-amd64
sudo install opkssh-linux-amd64 /usr/local/bin/opkssh
rm opkssh-linux-amd64
Now, log in using your Kanidm provider. You need to specify the Issuer URL and the Client ID we configured earlier. Additional options are supported.
#                       issuer_url                                  client_id
opkssh login --provider=https://sso.kammel.dev/oauth2/openid/opkssh,opkssh
/oauth2/openid/ + the
OAuth2 client name.
This should open your web browser, redirecting you to Kanidm for login.
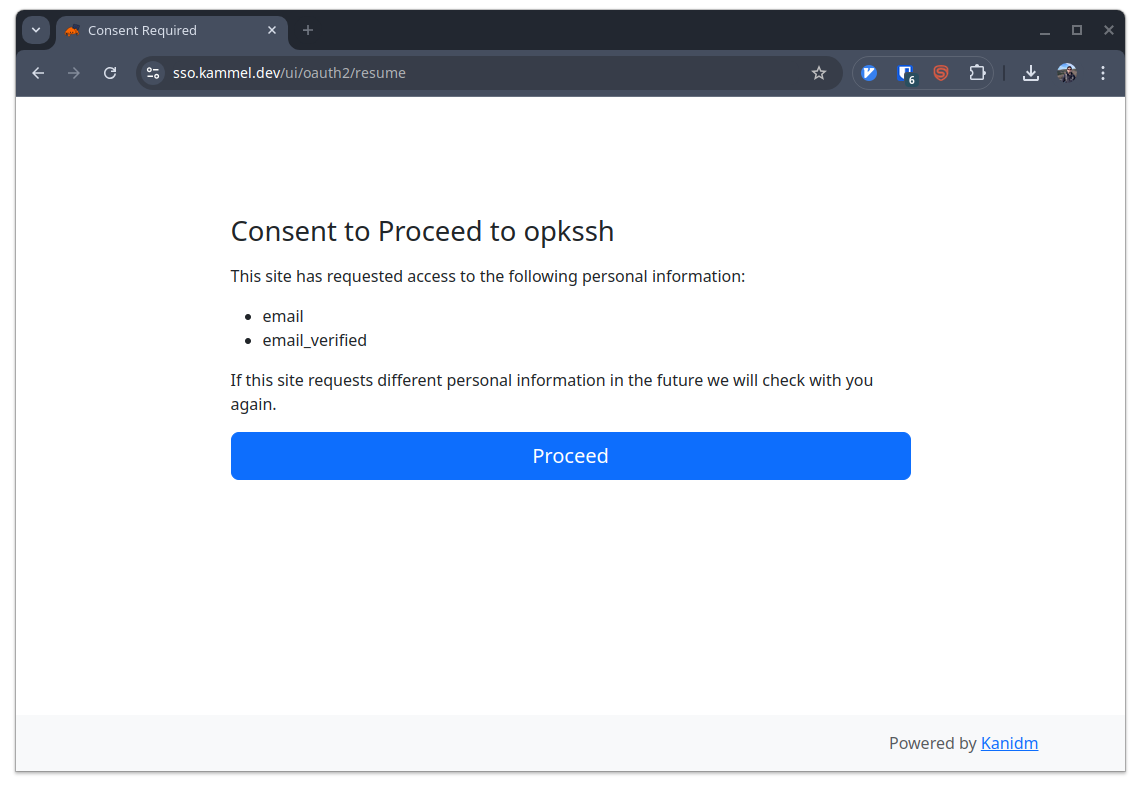
OAuth2 consent screen at first opkssh login.
After successful authentication, OPKSSH obtains an OIDC token.
Troubleshooting: Signature Algorithm Error
Or does it…? During my first attempt, I encountered an error:
failed to exchange token: signature algorithm not supported
This happened because, by default, Kanidm enforces modern cryptographic algorithms (ES256) for signing tokens, which OPKSSH (as of v0.4.0) does not support. It expects RSA signatures (RS256).
To resolve this, we need to explicitly allow the use of legacy crypto algorithms for the specific OAuth2 client in Kanidm:
kanidm system oauth2 warning-enable-legacy-crypto ${OAUTH2_NAME}
The Kanidm docs do an excellent job explaining why this is not the default.
After running this command and trying opkssh login again, it worked!
SSHing In
Once logged in via opkssh login, you can SSH as usual.
Your standard SSH client should automatically discover the credentials and
present them during the handshake.
ssh ubuntu@your-server-hostname
No need to specify keys or other config! The beauty of this is that it is transparent with the standard ssh command.
Conclusion
I love the direction the industry is heading. We are making great strides of removing long lived secrets from our systems, and SSO integration is becoming a standard instead of an enterprise feature. OPKSSH is a great addition to the landscape! 🙏 to Cloudflare for open sourcing it!
Has someone thought about using this approach to push to a git repository (e.g., on Gitea or GitHub)? This would require the Git server to support OPKSSH authentication, which seems unlikely for now but would be a fantastic future development.