
Kubernetes Home Lab in 2025: Part 6 - Identity & Access Management
A good Identity and Access Management (IAM) system is often overlooked in smaller environments and homelabs. Why is that?
We know that most enterprise use them, and for good reasons! They provide a central user directory to efficiently handle on-/offboarding for both human and technical users, make logging in to services easy, and granting permissions painless. Yeah right… let me know if you find one of these magical places 😅
These systems are usually based on Lightweight Directory Access Protocol (LDAP) or Active Directory (AD), and integrate with services using Security Assertion Markup Language (SAML). None of these have a reputation for being easy to set up or maintain. Apart from a plethora of managed services, such as Azure AD, Keycloak is a popular self-hosted solution, but again has a reputation for being complex and hard to maintain.
In this post, we will explore kanidm! A modern implementation of an IAM system, designed to be secure by default, with support for modern authentication methods such as WebAuthn and passkeys. We will deploy and configure kanidm in our Kubernetes homelab, and then integrate Kubernetes itself using OIDC, for an actually easy and painless single sign-on experience for our cluster users.
Installation
There are a few things to consider when installing kanidm. Let’s step through them one by one.
Domain Name
Kanidm will be a very powerful service in our network, managing access to many other services and systems. So we need to make sure that the connection to kanidm is secure, otherwise authenticatation tokens could be jeopardized. The same holds true for cookies and other session management tokens.
Kanidm provides great guidance on this, and help us to choose a (secure) domain name for our kanidm server.
They recommend one of two approaches:
- For maximum security, a dedicated domain that only hosts the kanidm server.
For me this would be something like
sso.kammel-auth.devand would enable us to setup strict security policies around the dedicated domainkammel-auth.dev. - The second option is to use a direct subdomain, e.g.,
sso.kammel.dev, and make sure that strict security controls are in place for all subdomains ofkammel.dev.
Since I am the only person with admin access to kammel.dev, and I don’t feel like
buying a second domain: Let’s go with option 2!
TLS Connection
Next we need a direct TLS connection between clients and the kanidm server. This is a strict requirement for kanidm, it does not provide any developer mode with insecure HTTP connections (not even if you pinky swear not to use it in production).
By default, any TLS connection would be terminated at our nginx ingress controller. Luickly, there exists the backend-protocol annotation, which allows us to configure the ingress controller to pass the TLS connection through to the kanidm pod. So all the magic we need is a single annotation:
nginx.ingress.kubernetes.io/backend-protocol: "HTTPS"
Helm Chart
The biggest hurdle right at the start: There is no official helm chart available. Luckily, one of the kanidm maintainers, created an example K8s deployment which I have converted into a Helm chart, so let’s roll with that.
Deployment
Finally we need our usual trio of K8s namespace, HelmRepository and
HelmRelease to deploy the kanidm server.
---
apiVersion: v1
kind: Namespace
metadata:
  name: kanidm
---
apiVersion: source.toolkit.fluxcd.io/v1
kind: HelmRepository
metadata:
  name: kanidm
  namespace: kanidm
spec:
  interval: 1h
  url: https://datosh.github.io/kanidm/
---
apiVersion: helm.toolkit.fluxcd.io/v2
kind: HelmRelease
metadata:
  name: kanidm
  namespace: kanidm
spec:
  interval: 1h
  chart:
    spec:
      chart: kanidm
      version: "0.1.2"
      sourceRef:
        kind: HelmRepository
        name: kanidm
        namespace: kanidm
  values:
    domain: sso.kammel.dev
    ingress:
      className: nginx
      clusterIssuer: letsencrypt-prod
      tlsSecretName: idm-kammel-dev-tls
Ensure that:
- The
domainmatches your chosen domain name ingress.classNamereferences the ingress class we set up in Part 3ingress.clusterIssuerreferences the cluster issuer we set up in Part 4
Configuration
After the deployment is finished, we can access the kanidm web interface
at https://sso.kammel.dev.
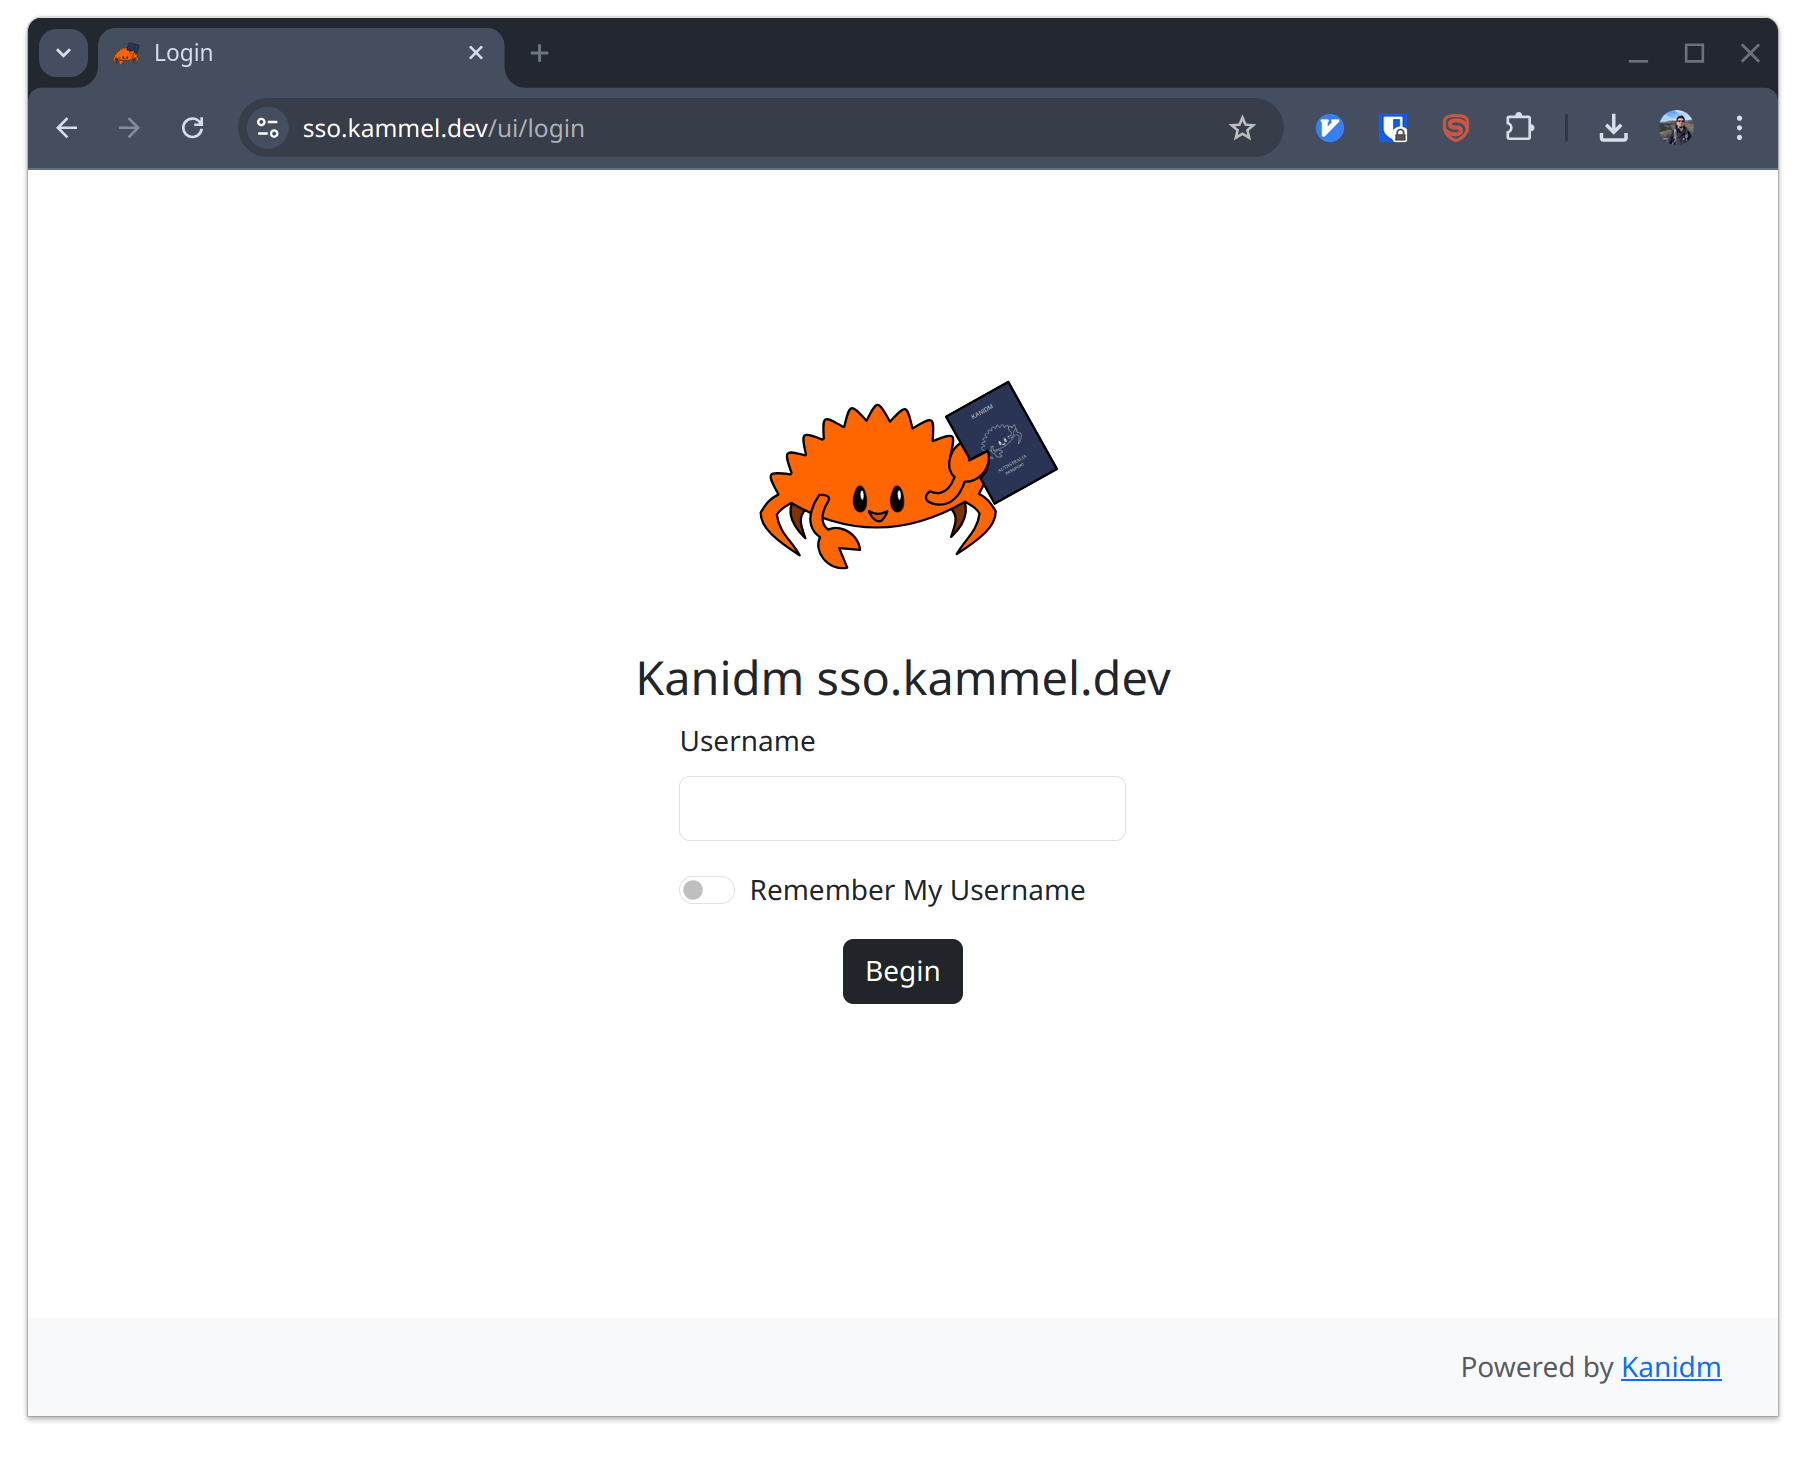
Default kanidm web interface
Default Admin Accounts
Now that we know the server is up and running, we need to initialize the two default admin accounts.
admin is used to manage the kanidm configuration and idm_admin is used
to manage accounts and groups. These two accounts should be considered
“break-glass” accounts, i.e., we only use them to setup our personal user,
grant us enough access, and then lock them away.
Let’s exec into the kanidm pod and run the following commands:
kanidmd recover-account admin
kanidmd recover-account idm_admin
This will print the password for both accounts to the console.
Client Tools
To interact with the kanidm server, we need to install the client tools. The client tools are available for most package managers, as a container or to build them straight from Rust source. Which is actually what I did:
$ sudo apt-get install libudev-dev libssl-dev libsystemd-dev pkg-config libpam0g-dev
$ cargo install kanidm_tools
$ kanidm version
kanidm 1.5.0
Create Personal User
First let’s login as the idm_admin user:
$ export KANIDM_URL=https://sso.kammel.dev
$ export KANIDM_name=idm_admin
$ kanidm login
Enter password: [hidden]
Login Success for [email protected]
Now we can create our personal user account. This is the account we will use to get access to the cluster and other services, or login to the kanidm web interface for self-service account management.
$ kanidm person create datosh "Fabian Kammel"
Successfully created display_name="Fabian Kammel" username=datosh
$ kanidm person update datosh --mail "[email protected]"
Success
$ kanidm person get datosh
...
directmemberof: [email protected]
displayname: Fabian Kammel
mail: [email protected]
...
name: datosh
spn: [email protected]
uuid: 7b89b6ea-1e8b-4aa8-98fb-a70cba498d16
Finally we need to create a reset token to finalize our account creation
$ kanidm person credential create-reset-token datosh
The person can use one of the following to allow the credential reset

Scan this QR Code:

█████████████████████████████████████████
█████████████████████████████████████████
████ ▄▄▄▄▄ █ ▄▄▄█▄▀█ ▀▀▄▄▀█ ▀█ ▄▄▄▄▄ ████
████ █   █ █▀▀▄█▀▄█ ▄▀█▄ █  ██ █   █ ████
████ █▄▄▄█ ██ ▄▄█▀ ▄▄ ▀▀██▀▄ █ █▄▄▄█ ████
████▄▄▄▄▄▄▄█ █ █ █▄▀▄▀▄█ █ ▀ █▄▄▄▄▄▄▄████
████▄▀▄ █▄▄ █ ▀▄█▀ █▀▄▀▀▀ █ ██ ▀█ ▀▄ ████
████▀▀▄ █▄▄ ▄██▄▀▄██▄▄▀▀ █  ▀█▀ ▄ █ ▄████
████ █▀▀ ▄▄ ██ ▄ ▀ ▄ ▄█▀▄▀▄▄▄ ▀ ▄▄▀ █████
████ ▄▀▀█▄▄▄█▄▄ ▀▄▄ █▄▄ ▄▀▀▀▀▀ ▄   ██████
█████▄▄ ▀█▄▀▄▀ ▄▄ ▀▀██ █   ▀█▄ █  ▄█▀████
████▀█ ▄ ▀▄▀▄▀ ▀█   █ █▀██▀█▀ █▄ █▄ █████
████  ▀▀▀ ▄▄▄▄▀▀█ ██▀▄▀█ ▄▀ █▀▀ █▄▄█ ████
█████▀▄ ██▄▄█ █▀▄███ ▄ ▀▀█▄ ██ ▀▄▀▄▄ ████
████▄██▄█▄▄▄ ▄██ █▀   █ ▀█▄▀ ▄▄▄ ▀█ █████
████ ▄▄▄▄▄ █ ███▄▀▄█▀█▀▄▀▀▀  █▄█ ▀▀▄█████
████ █   █ █▀▀▀▄█▀▀▄█▀▀▄▄▄   ▄▄ ▄▀▄▄ ████
████ █▄▄▄█ █▄█  █ ▄  ▀ █ ▄ ▀▄▄▄ ▀▄▄█▀████
████▄▄▄▄▄▄▄█▄▄▄▄▄▄██▄▄█▄█▄█▄█▄▄█▄█▄██████
█████████████████████████████████████████
▀▀▀▀▀▀▀▀▀▀▀▀▀▀▀▀▀▀▀▀▀▀▀▀▀▀▀▀▀▀▀▀▀▀▀▀▀▀▀▀▀

This link: https://sso.kammel.dev/ui/reset?token=kWzBj-Zdkua-SxTaf-CKARR
Or run this command: kanidm person credential use-reset-token kWzBj-Zdkua-SxTaf-CKARR
This token will expire at: 2025-04-08T22:41:46+02:00
The link will take us to the kanidm web interface:
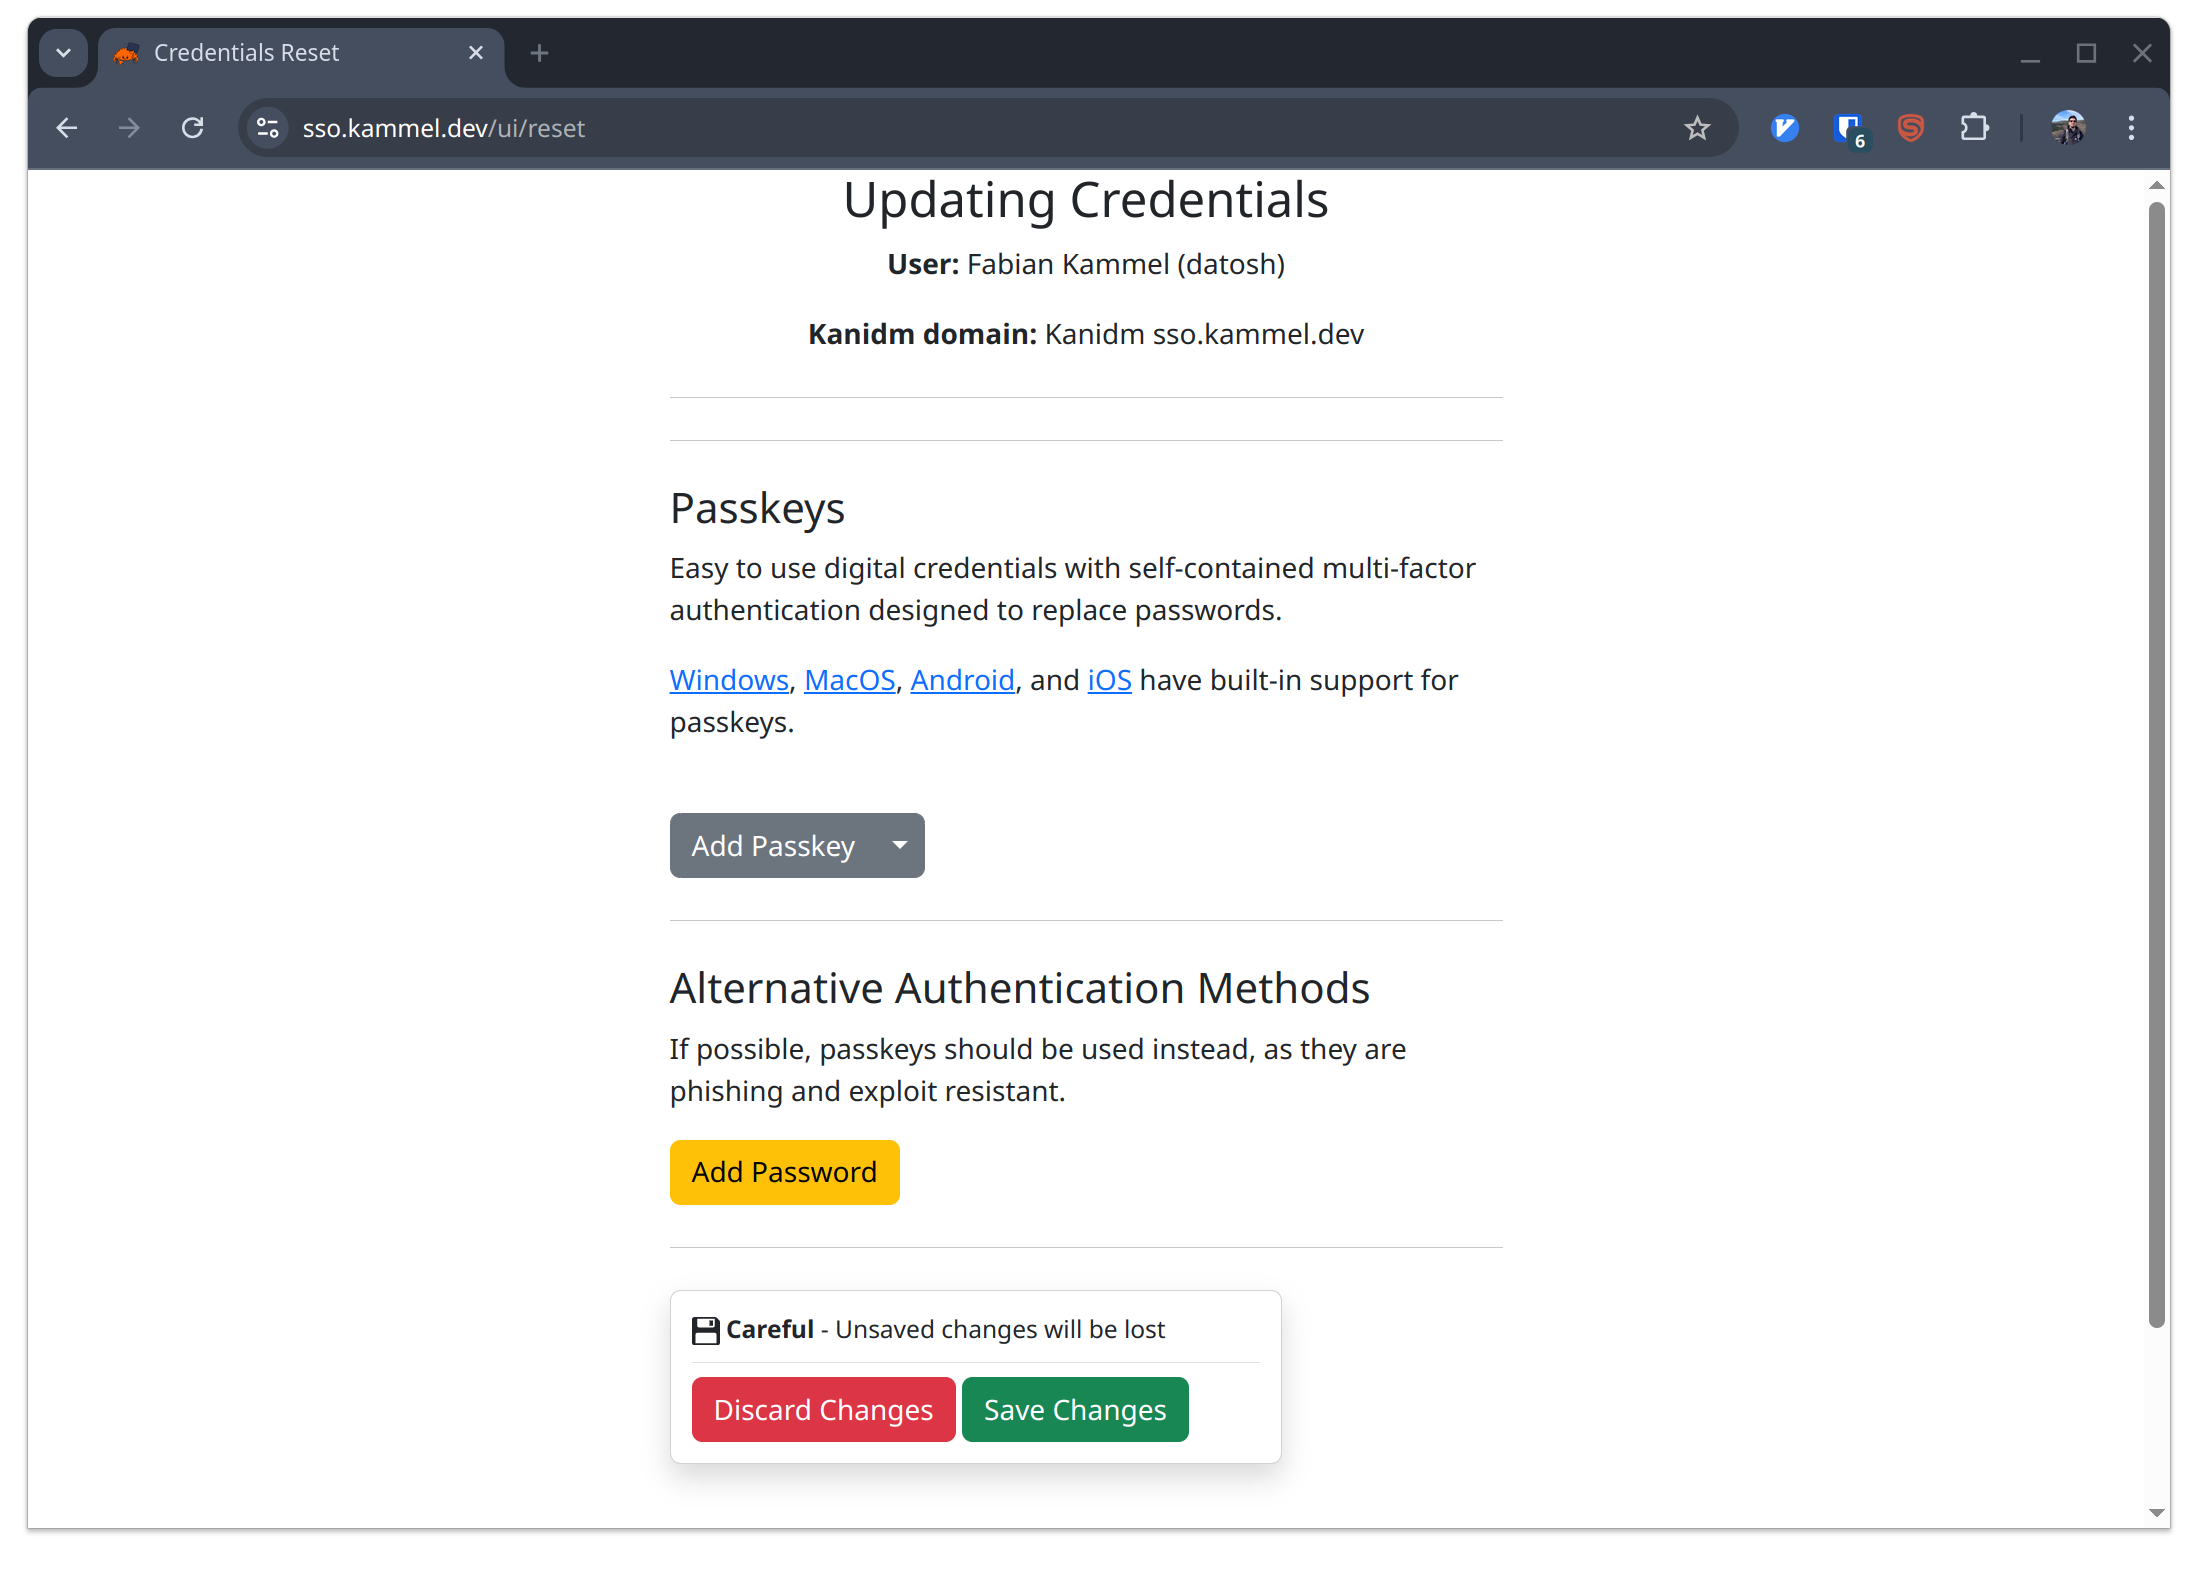
Update credentials
Where we can add our passkey! Hello 2025!
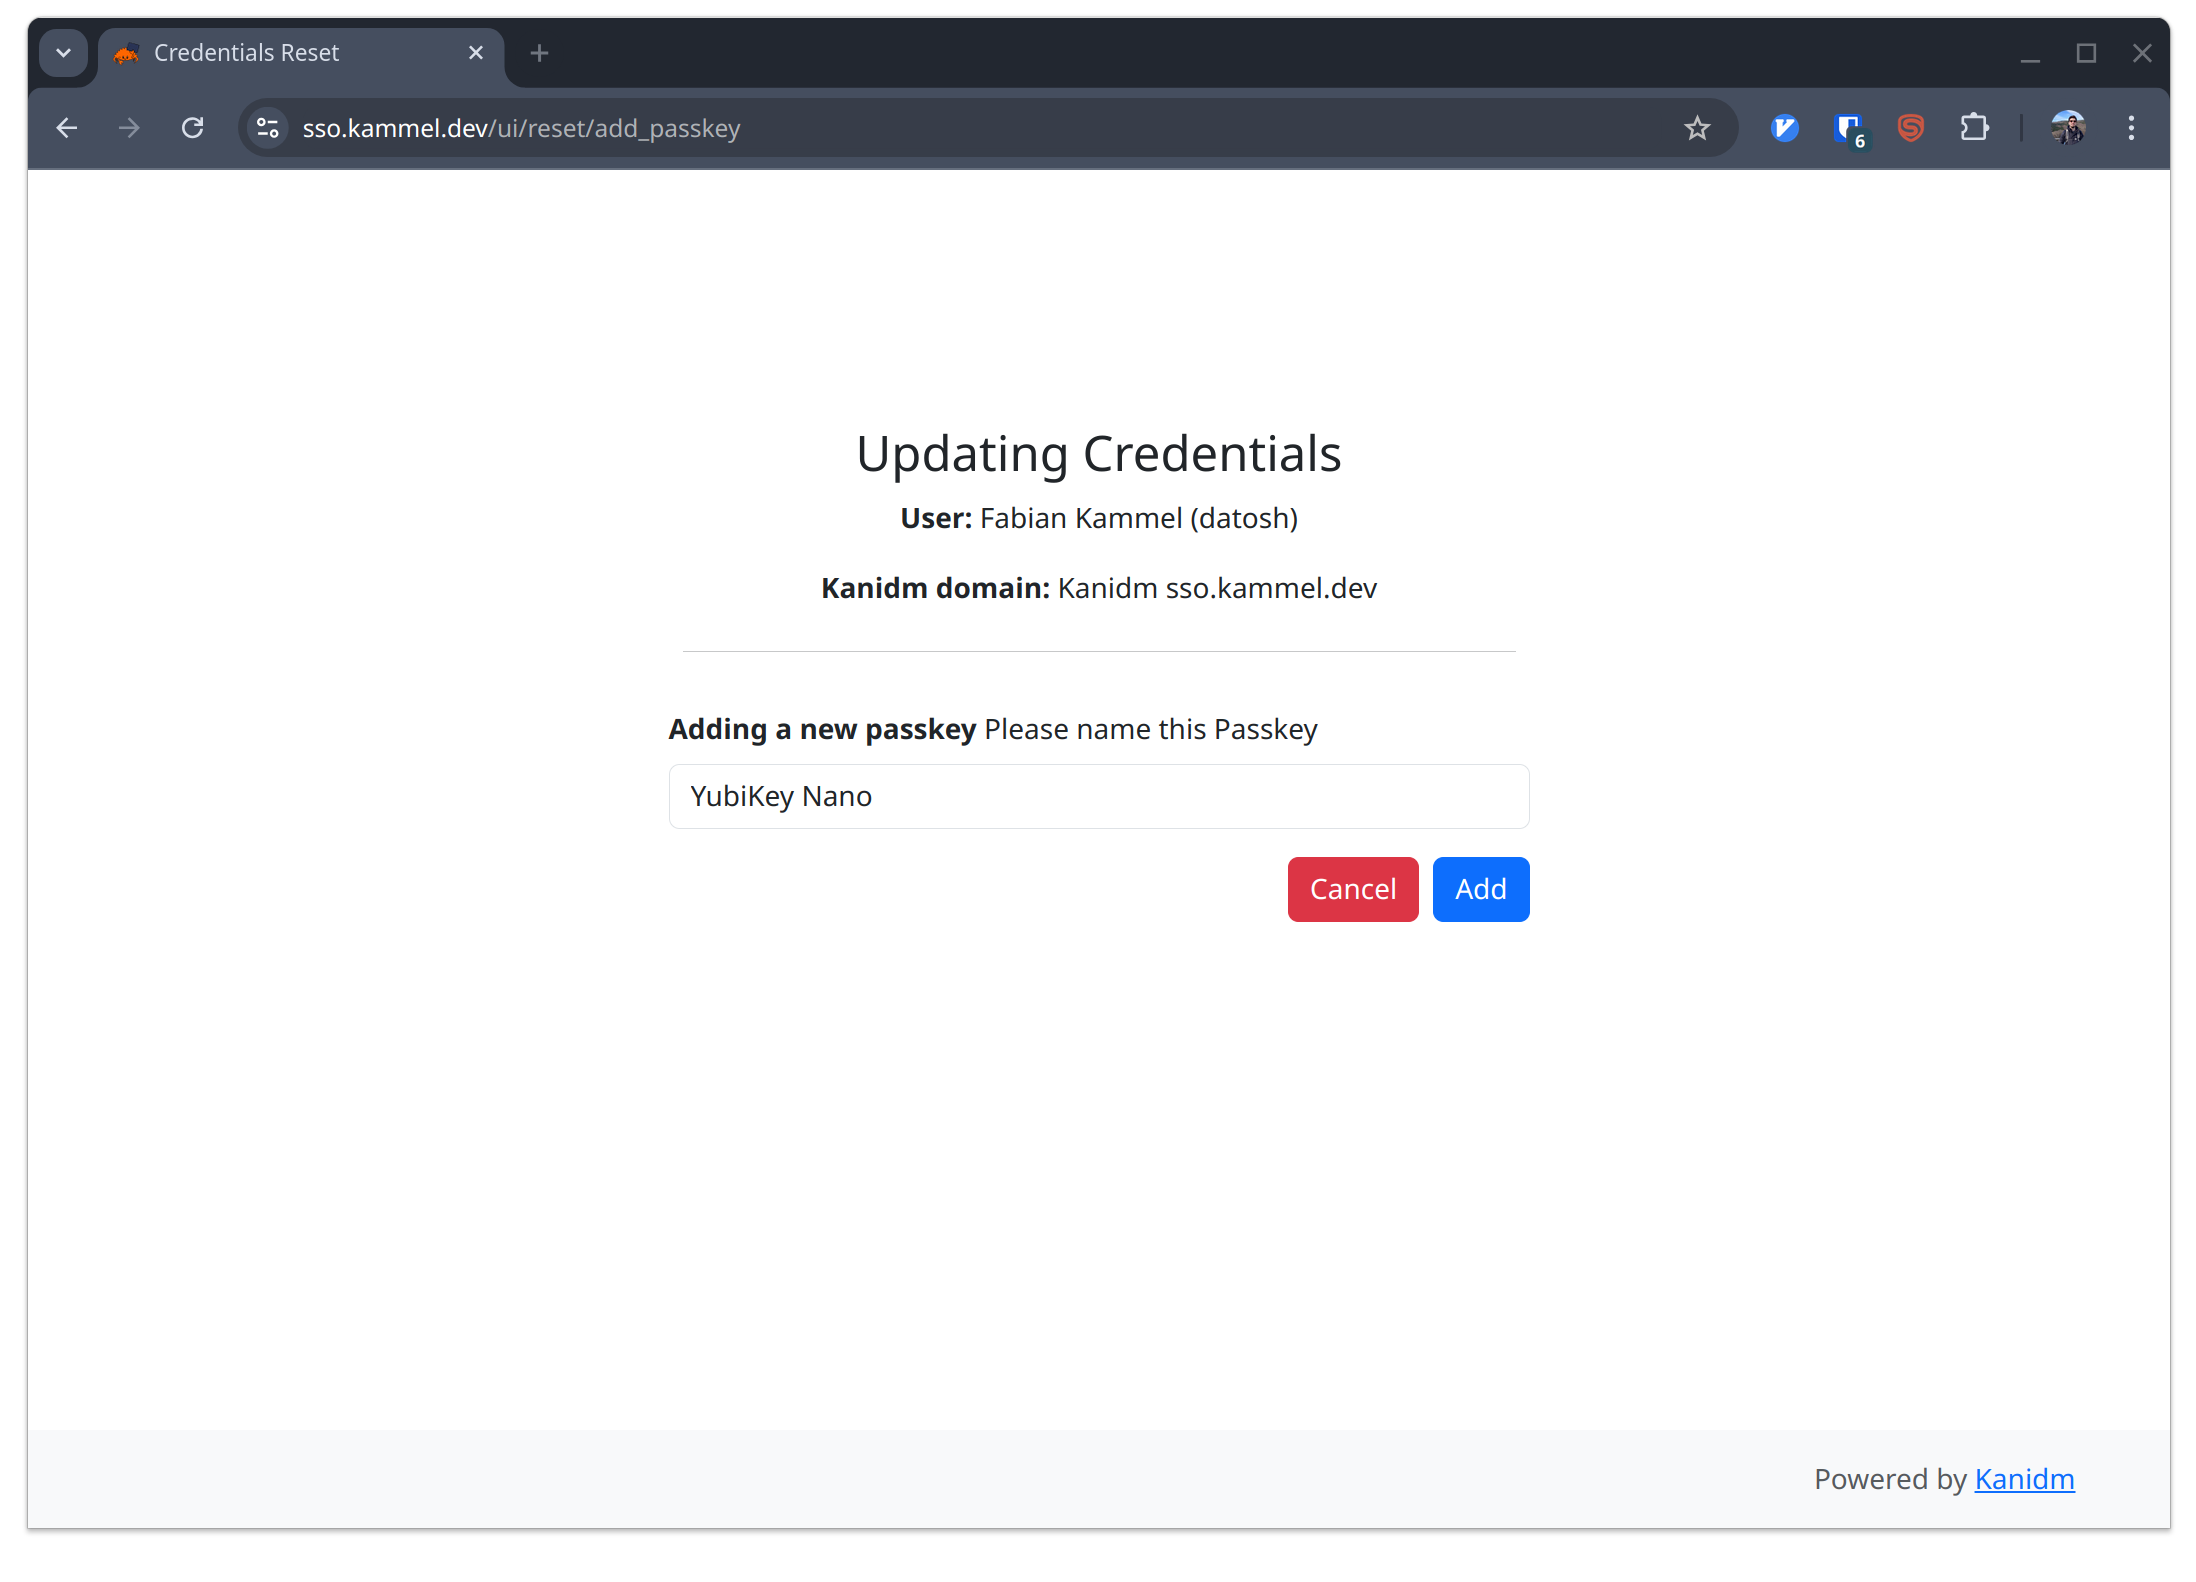
Set Yubikey
Once we set the passkey and saved the changes we can log in with our passkey:
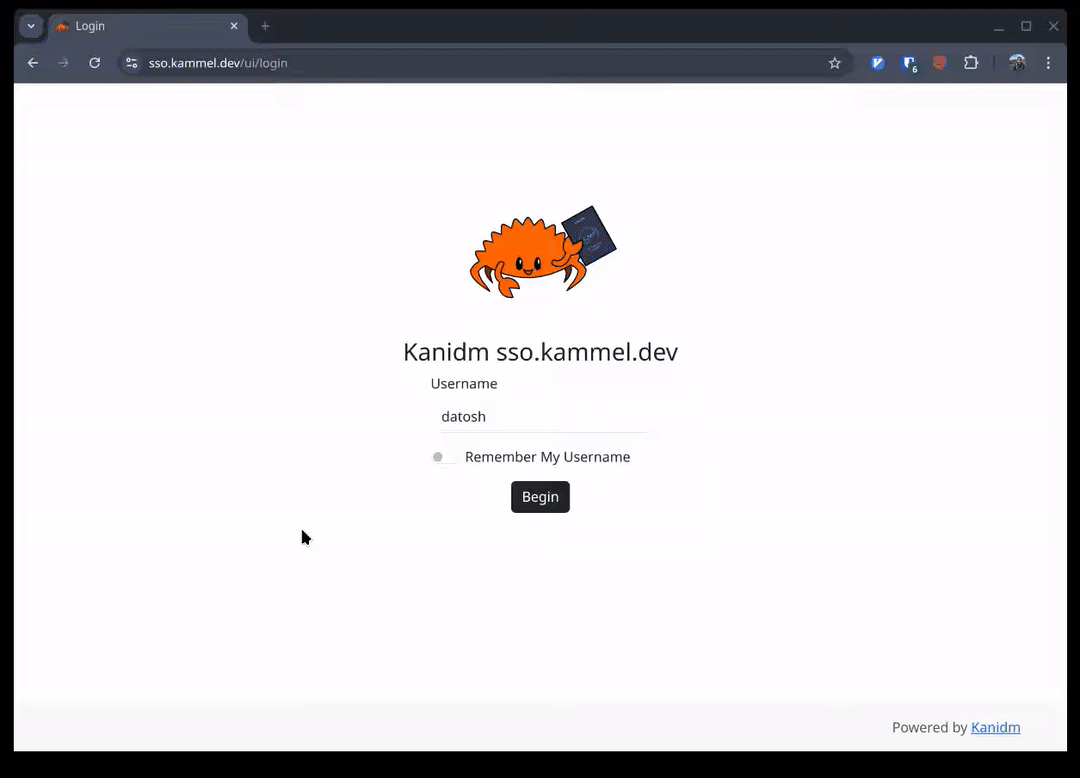
Login flow
Kubernetes Integration
Finally, we can integrate Kubernetes with our kanidm server. This will allow us to use our kanidm user to authenticate to the Kubernetes API server, and therefore access the cluster using only our passkey.
Kanidm Configuration
We keep the setup simply for now, and only create a single user group
k8s_users, which will be used to grant access to the cluster.
$ export GROUP_NAME=k8s_users
$ kanidm group create ${GROUP_NAME}
Successfully created group 'k8s_users'
$ kanidm group add-members ${GROUP_NAME} datosh
Successfully added ["datosh"] to group "k8s_users"
Next, we create a new OAuth2 client for K8s:
$ export OAUTH2_NAME=k8s
$ kanidm system oauth2 create-public ${OAUTH2_NAME} ${OAUTH2_NAME} http://localhost:8000
Success
$ kanidm system oauth2 add-redirect-url ${OAUTH2_NAME} http://localhost:8000
Success
$ kanidm system oauth2 update-scope-map ${OAUTH2_NAME} ${GROUP_NAME} email openid profile groups
Success
$ kanidm system oauth2 enable-localhost-redirects ${OAUTH2_NAME}
Success
It also regisers the redirect URL and authorizes the k8s_users group for the
k8s OAuth2 client. Finally, we need to explicitly enable localhost redirects,
since kanidm will reduct to a local service where kubectl is listening.
Kubectl Plugin
By default, kubectl does not support OIDC authentication. However, there is
github.com/int128/kubelogin
which adds the required OIDC support to kubectl.
We can simply install it via krew:
kubectl krew install oidc-login
Kubernetes Configuration
First, we need to tell K8s to trust the kanidm server, and the OAuth2 client
we created. This is done by extending the kube-apiserver flags with:
--oidc-issuer-url=https://sso.kammel.dev/oauth2/openid/k8s
--oidc-client-id=k8s
/etc/kubernetes/manifests/kube-apiserver.yaml on the
control plane node to set these additional flags. The kube-apiserver will be restarted
automatically by K8s, and the new flags will be applied.
Next, we need to run the OIDC setup command to generate the required client config.
$ kubectl oidc-login setup \
  --oidc-issuer-url=https://sso.kammel.dev/oauth2/openid/k8s \
  --oidc-client-id=k8s

Authentication in progress...
## Authenticated with the OpenID Connect Provider

You got the token with the following claims:

{
  "iss": "https://sso.kammel.dev/oauth2/openid/k8s",
  "sub": "7b89b6ea-1e8b-4aa8-98fb-a70cba498d16",
  "aud": "k8s",
  "exp": 1744304590,
  "nbf": 1744303690,
  "iat": 1744303690,
  "nonce": "El0GmmOArKKBd63BZNECK-AstLjiP8DrvhXA3o5_o0g",
  "azp": "k8s",
  "name": "Fabian Kammel",
  "preferred_username": "[email protected]",
  "scopes": [
    "openid"
  ]
}

## Set up the kubeconfig

You can run the following command to set up the kubeconfig:

kubectl config set-credentials oidc \
  --exec-api-version=client.authentication.k8s.io/v1 \
  --exec-interactive-mode=Never \
  --exec-command=kubectl \
  --exec-arg=oidc-login \
  --exec-arg=get-token \
  --exec-arg="--oidc-issuer-url=https://sso.kammel.dev/oauth2/openid/k8s" \
  --exec-arg="--oidc-client-id=k8s"
Run the kubectl config command as prompted.
Then we attach a cluster role to our user:
$ kubectl create clusterrolebinding oidc-cluster-admin \
  --clusterrole=cluster-admin \
  --user='https://sso.kammel.dev/oauth2/openid/k8s#7b89b6ea-1e8b-4aa8-98fb-a70cba498d16'
--user flag is constructed from the kanidm server URL,
the well known path /oauth2/openid, the OAuth2 client name k8s, and the
sub value from the token we received during the kubectl oidc-login setup command.
Aaaaaannd….
› kubectl --user=oidc cluster-info

To further debug and diagnose cluster problems, use 'kubectl cluster-info dump'.
error: You must be logged in to the server (Unauthorized)
Crap - something is wrong. Let’s check the logs of the kube-apiserver:
$ kubectl logs -n kube-system -f kube-apiserver-control-plane-01
...
"Unable to authenticate the request" err="[invalid bearer token, oidc: verify token:
oidc: id token signed with unsupported algorithm, expected [\"RS256\"] got \"ES256\"]"
Aha! The kanidm server is using ES256 as the signing algorithm, while
K8s is expecting RS256. You can expect to see these “issues” with kanidm, but I’d argue that
this is actually a good thing. Kanidm enforces the use of modern (signing) algorithms,
while the K8s default is to support most clients.
We have two options here:
- Change the signing algorithm in kanidm to
RS256(not recommended), but for completeness:$ kanidm system oauth2 warning-enable-legacy-crypto ${OAUTH2_NAME} Success - Change the K8s API server to accept
ES256(recommended), again adding a flag to thekube-apiservermanifest:--oidc-signing-algs=ES256
Let’s try again:
kubectl --user=oidc cluster-info
Kubernetes control plane is running at https://192.168.1.16:6443
CoreDNS is running at https://192.168.1.16:6443/api/v1/namespaces/kube-system/services/kube-dns:dns/proxy

To further debug and diagnose cluster problems, use 'kubectl cluster-info dump'.
Success! 🎉 🎉 🎉
Bonus: Make it nice
Set the K8s logo for the K8s OAuth2 application in kanidm’s application list:
$ curl -LO https://upload.wikimedia.org/wikipedia/commons/3/39/Kubernetes_logo_without_workmark.svg
$ kanidm system oauth2 set-image ${OAUTH2_NAME} Kubernetes_logo_without_workmark.svg svg
$ rm Kubernetes_logo_without_workmark.svg